
Baking cakes is fun, rewarding, and not to mention delicious. However, it’s not always easy to create the perfect cake. There are always going to be failed attempts, leaving you with flat or dense results.
If you’re just getting started in the world of baking, it can be daunting to figure everything out.
Baking is often considered easy, but there are plenty of techniques that you have to perfect in order to achieve delicious results every time.
Today we’re looking at 10 of the most important things that any baker needs to know.
Before we jump right into the article, we’d like to say a warm welcome to any readers joining us from thecocoacakery.com. We have recently acquired the site and are excited to join our readership to create a larger community of cake lovers.
Let’s whip up our top tips!
1. Keep Ingredients At Room Temperature
Ingredients need to be room temperature before they’re used in baking. Whether that’s eggs, sugar, or even flour, keep them out of the refrigerator and pantry for an hour before you use them.
Eggs are less likely to split when at room temperature, and butter is easier to cream with sugar. You’ll also find it much easier to whisk egg whites into meringues when they’re room temperature.
2. Take Your Time Creaming Butter And Sugar
One of the most important techniques in baking is creaming butter and sugar together. This gives the mixture a light and fluffy texture, whether you’re making cupcakes, buns, or cakes.
Creaming correctly can be the difference between a fallen cake and a perfectly risen one.
Make sure that you cream these two ingredients together to ensure that no sugar grains remain. This can take up to 10 minutes, so be patient! Using an electric mixer can make this process much easier.
3. Check Your Dry Ingredients Are Fresh
We’ve all been there – we’ve suddenly felt the need to bake a cake, and we grab whatever ingredients we have in our pantry without a second thought of how fresh they are.
Flour and raising agents, such as baking powder, have incredibly long shelf lives.
However, for the best results, it’s important to check whether they’re past their prime. If you use out of date dry ingredients, the taste of your cake will likely falter.
This can also affect the rise of your cake, leaving you with a flat and dense result.
If you’re interested in learning more about how to make gluten-free desserts without the use of traditional flour, check out our guide here.
4. Follow Your Recipe Thoroughly
We know how tempting it is to veer off when you’re following a recipe – whether you have another technique you want to try, or think that you know better. However, the fundamentals of baking is science.
The instructions are there for a reason, and unless you’re the creator of the recipe, you’re likely not going to know better than the person who made it.
A common issue that we see in regards to this is people adding raising agents despite the recipe not calling for one.
While you might think it’s necessary, the added pressure of the rise will affect the cake’s structure and make it more likely to collapse.
It will also add a soapy taste to your cake.
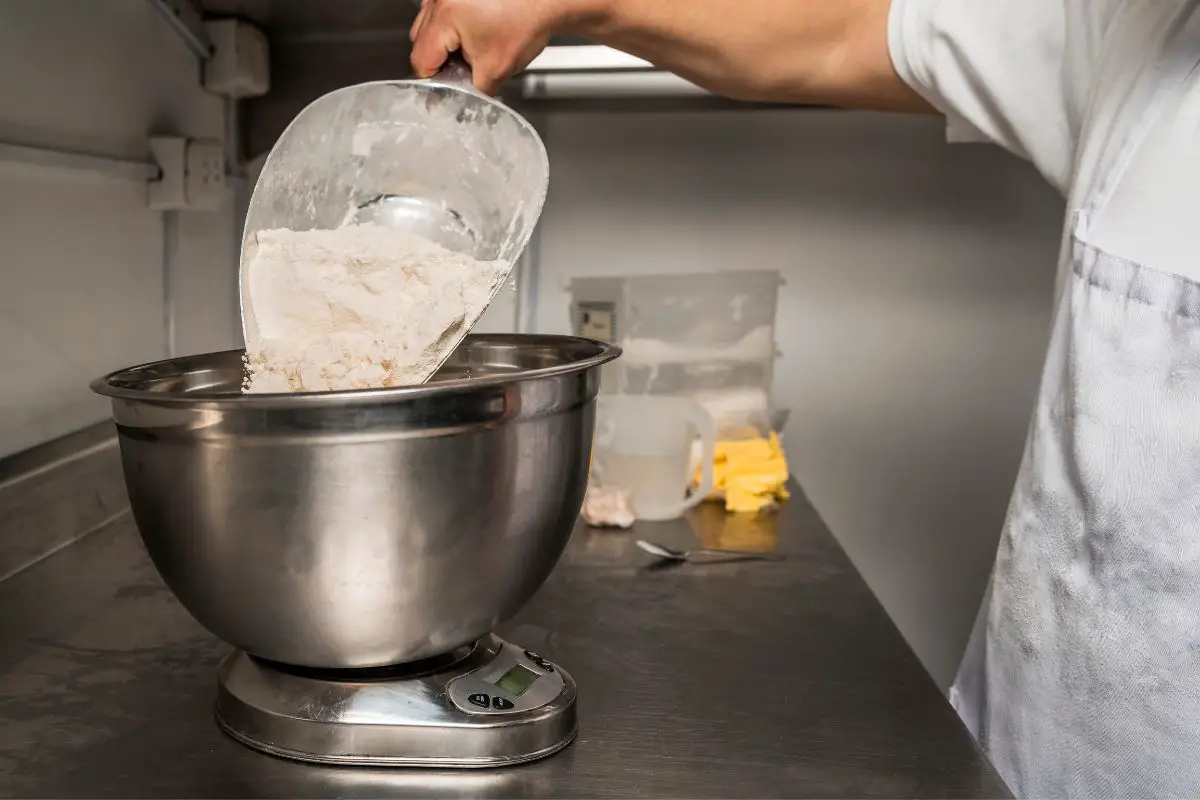
5. Be Precise With Your Measurements
Again, when you’ve been making for a while and have made the same recipe a few times, you might be tempted to forgo the measuring cups and eyeball it instead.
However, this can lead to inconsistencies, less than perfect desserts, and sometimes complete fails.
Digital scales are always better than cups, but either is better than a visual balancing act. You can also weigh wet ingredients like milk. Remember that 1 ml = 1 gram.
6. Wet Ingredients Come Before Dry Ingredients
Most recipes will tell you to add the dry ingredients to a bowl first, followed by the wet ingredients.
However, this can often lead to lumps within the dry mixture, removing the airy texture every cake and cupcake should boast.
Instead, try sifting your dry ingredients onto the wet ingredients slowly. Do this in three sections – add a third of the dry ingredients, fold in. Repeat until all of your ingredients are mixed together to form a perfectly smooth consistency.
7. Take Your Time Folding Ingredients Together
Folding is one of the most important techniques in baking, and one that is most commonly looked over.
We’re often too busy rushing the baking process to appreciate how much folding ingredients together can make or break a dessert.
To fold ingredients, use a spatula or large spoon. Use one hand to turn the bowl in a clockwise motion as you use the other to scrape the side of the bowl with your utensil. Lift the mixture up from the side and over the top of the batter.
Think of it as a figure eight motion. Continue until all ingredients have been completely folded together – without rushing.
It can take some time to learn how to fold without overmixing, too, so don’t feel discouraged if this happens the first couple tries.
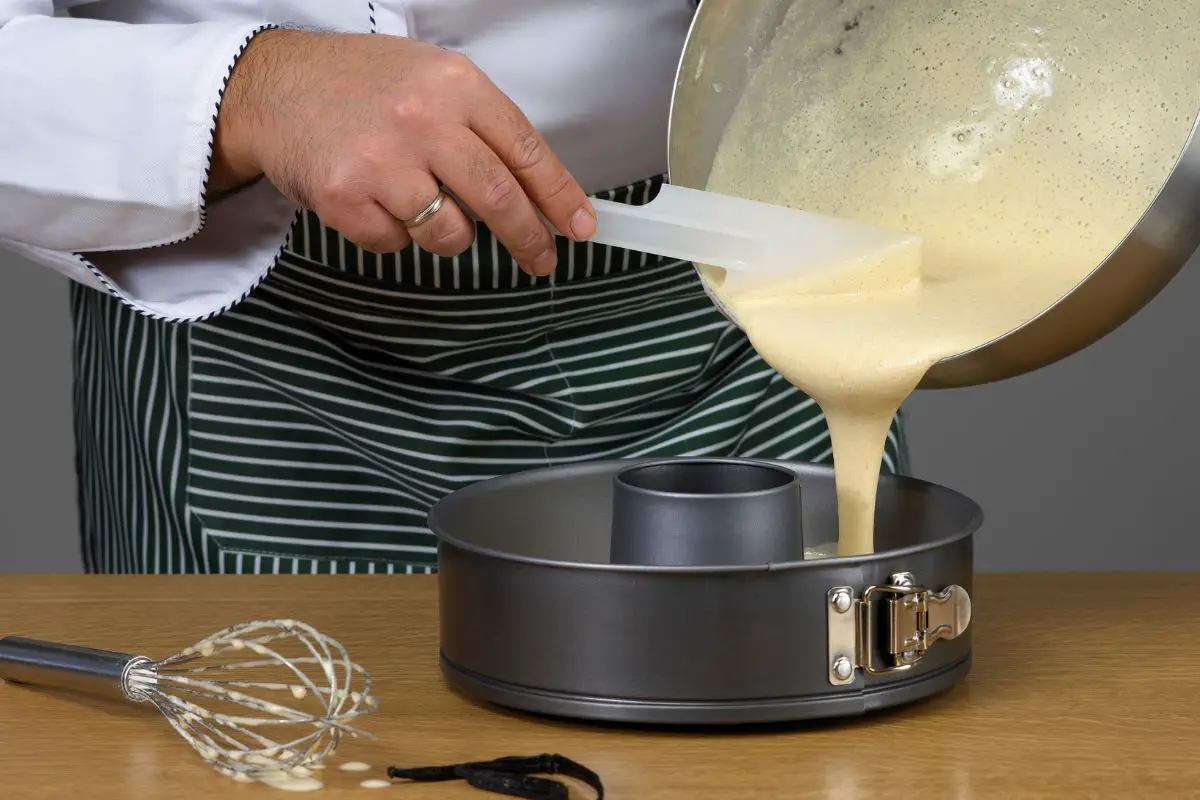
8. Use The Correct Cake Tin
The size of the cake pan used will differ the time needed to cook your cake batter.
Using the incorrect tin will require a different cooking time to the one listed within the recipe, meaning that you’re going to need to keep a closer eye on how it’s cooking.
This means opening the door more, letting heat escape and altering the evenness of your cake.
Here are some tips and tricks to choosing your cake tins:
- Black tins will absorb more heat than gray metal tins, so need less cooking time.
- Square tins (like brownie tins) need to be turned halfway through cooking to avoid burnt corners.
9. Get To Know Your Oven
A baker’s best friend is their oven. You need to know whether there are any hot spots in the oven, whether your temperature runs high or low, and whether it’s correctly calibrated.
We’d suggest getting yourself an oven thermometer so that you can check the temperature inside matches your thermostat.
No matter whether you’re making fancy or simple desserts, knowing your oven is going to leave you with the best end result.
10. Bake Everything On The Middle Shelf
Heat circulates around the oven, so baking things in the middle of this whirlpool will ensure the most even cooking.
This is true for chocolate brownies, vanilla sponge cakes, and everything in between.
If you don’t have a middle shelf, you can often buy a rack to put in the oven which will serve its purpose. The top of the oven will likely be too hot and leave you with dry cakes, while the bottom will be too cool.
Summary
Thanks for reading our 10 top tips that every baker should know. Now that you’re a little more clued up on the basics, why not try your hand at some exciting desserts?
Here is a list of our favorite guides we have to spark inspiration for your next baking extravaganza!